
The Only Brisket Trim You Need (Texas-Style)
Six cuts. In this order. No improvising. The Major teaches the Texas-style brisket trim — quarter-inch fat cap, silver skin off, deckle in — and why each cut matters for the bark, the render, and the yield.
Affiliate disclosure: This page may contain affiliate links. As an Amazon Associate I earn from qualifying purchases. Full disclosure.
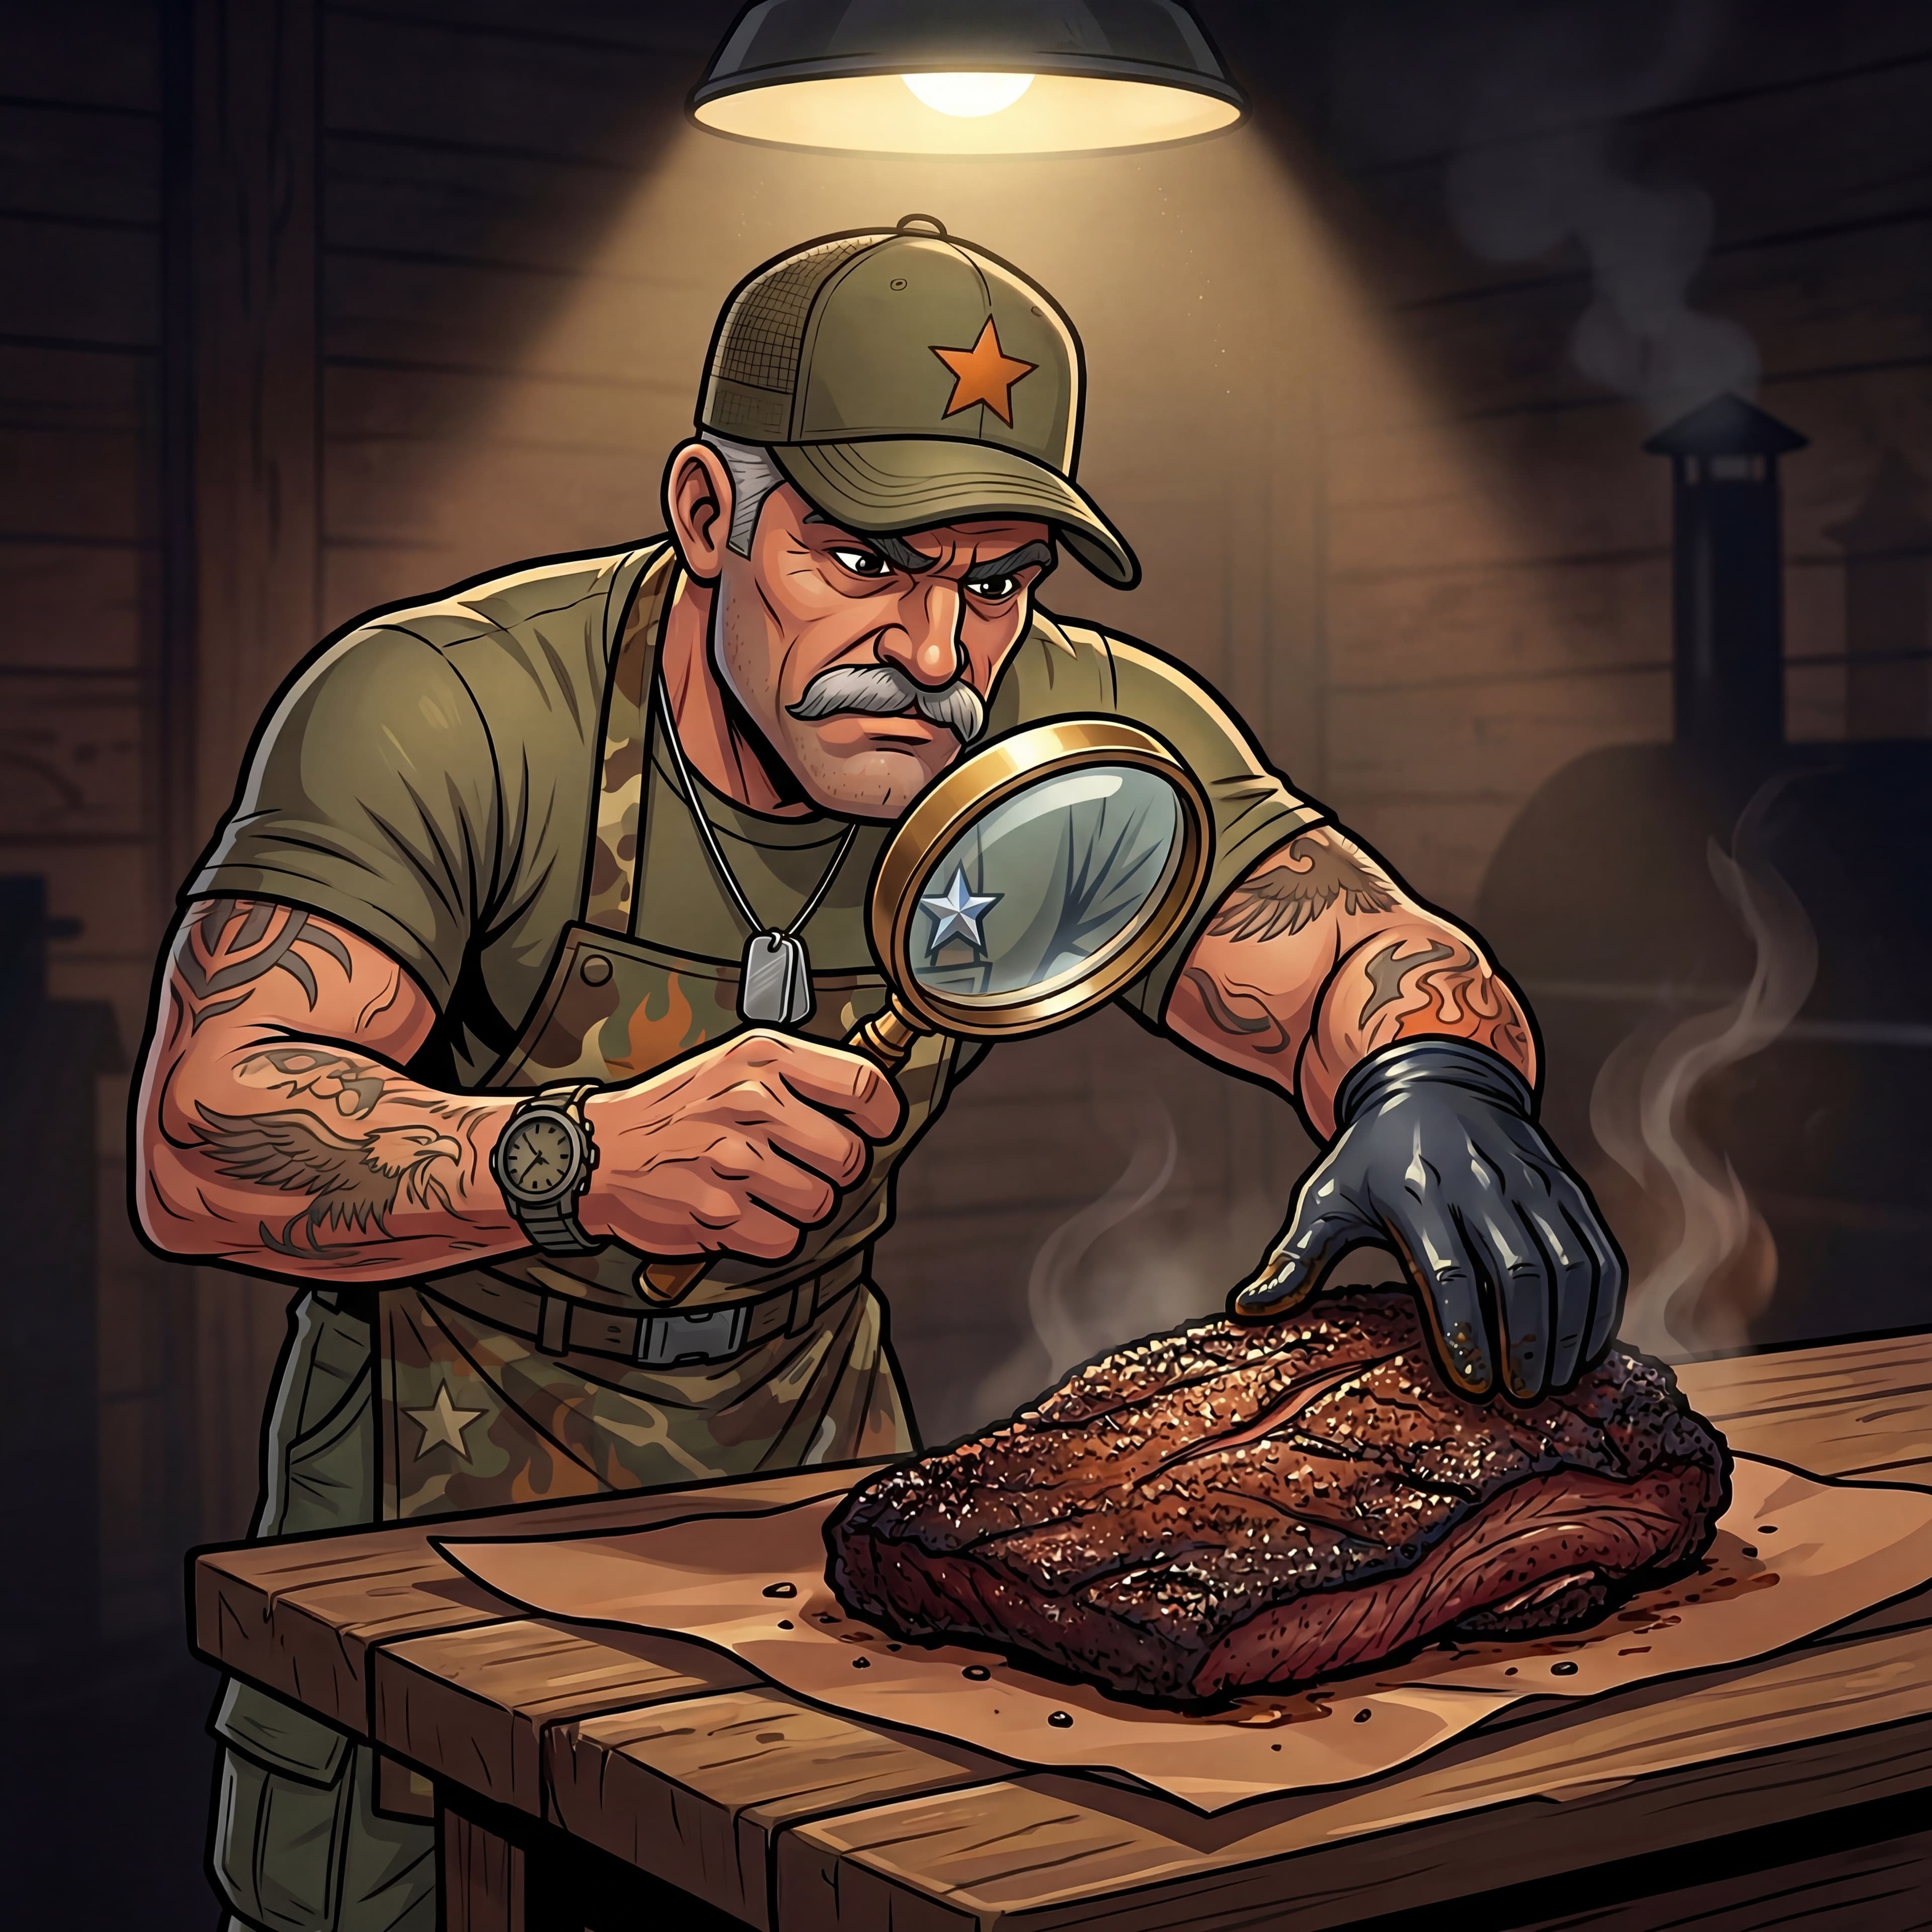
It's 0500. The whole packer just came out of the fridge, cold and firm, the size of a small cooler and staring up at you from the cutting board. You've watched three YouTube videos this week. Two of them said opposite things. The Major is here. One trim. Six cuts. In this order. No improvising until you've done it twenty times.
Why the Trim Matters More Than the Rub
Your trim is half the cook. Fix the trim and you fix 90% of what goes wrong after it hits the pit.
Rub rides on the surface. The trim builds the surface. A bad trim cooks unevenly: the thin lip of the flat dries to leather while the point is still firm. Hard fat sits on top of the meat for 14 hours and never renders, so the bark on top tastes like candle wax. Silver skin you forgot to peel acts like a tarp on the underside of the flat. No rub gets through. No smoke gets in. You can run perfect temps, burn the right wood (post oak or hickory, your call), and manage the brisket stall like you've done it a hundred times. None of it saves a sloppy trim.
Here's the math. A 16-pound packer comes home from the butcher. You'll lose roughly 20% to the trim, call it three pounds of fat in the bin. You'll lose another 30% to the cook itself: rendered fat, evaporated moisture, the price of low-and-slow. That same 16-pound brisket serves about 11 pounds. You're not wasting meat when you trim. You're paying the entry fee for Texas-style. Pay it.
Tools You Actually Need
You don't need a butcher shop. You need the right weapons for the mission.
- 6-inch boning knife, curved and flexible. This is the trim knife. Dexter-Russell or Victorinox both run under fifty bucks and outlast the people who buy them. Pick up the Dexter-Russell 6" boning knife on Amazon for the price of a bad takeout dinner.
- 12-inch granton-edge slicer. This is the post-cook knife. Don't use it for trim, and don't use the boning knife for slicing. Right weapon, right mission.
- End-grain cutting board, 24 by 18 inches minimum. A whole packer doesn't fit on the board you cut tomatoes on. End grain holds the edge.
- A clean kitchen towel. Wipe the knife often.
- Paper towels. Blot the meat dry before you start. They double as the best grip for peeling silver skin.
- A honing rod within arm's reach. Touch up the edge halfway through. Sharp knives slice fat. Dull ones tear it.
For specific picks, see the Major's gear intel.
The Six Cuts — In This Order
Sharp knife. Cold meat. Steady hand. The brisket goes on the board fat-cap up. Boning knife in your dominant hand, free hand on the meat. Begin.
1. Remove the hard fat from the point
Find the "thumb." It's the dense, waxy knob of fat at the top of the point, near the deckle seam. Press it. It feels different from the rest of the cap: harder, denser, almost rubbery. That's because it is.
This fat doesn't render. Not in 12 hours. Not in 16. It sits there mocking you. Slice it off flush with the muscle below, following the contour. You're not flaying the point. Short, controlled strokes, knife angled in. When you see clean meat, stop.
Hard fat is meat you pay for and throw away. Cut it off.
2. Square the flat's thin end
Flip the brisket so the flat is in front of you. The far end tapers to a paper edge. That edge is where amateur briskets die. At 200°F pit temp for 12 hours, anything less than 3/4 inch thick cooks straight to leather.
Find the spot where the flat is at least 3/4 inch thick all the way across. Square cut. Knife perpendicular to the board, one clean stroke. You just lost four ounces of meat.
That four ounces was going to be inedible. Better in the trim pile than on the platter.
3. Trim the fat cap to a quarter inch
Long strokes. Knife nearly flat to the meat. Take the cap down across the top of the brisket, both the point and the flat, to roughly 1/4 inch.
Why a quarter inch? Because that's the answer. Anyone telling you different hasn't trimmed enough briskets. Thicker than 3/8 and the cap doesn't fully render. You serve a grease puddle on top of the bark. Thinner than 1/8 and there's nothing to baste the meat as the fat melts. The flat dries. The bark forms straight on lean muscle. You worked all night for nothing.
A quarter inch renders down through the cook, drips through the meat, and leaves a layer of bark with actual fat in it. As Aaron Franklin lays out in A Meat-Smoking Manifesto, the same number applies whether you're cooking competition or backyard.
Move smooth. Take it across in passes. Don't dig in.
4. Peel the silver skin off the bottom
Flip the packer over. On the underside of the flat there's a thin, white-gray membrane that looks like cling film glued to the meat. That's the silver skin.
It doesn't render. It sits on the bottom of your flat like a tarp, blocking rub, blocking smoke, blocking any chance of bark on the underside.
Get a corner up with the tip of the boning knife. Pinch it with a paper towel for grip. Peel. It comes off in long strips. Takes 90 seconds. Skip it and you've wasted half the surface area of your flat.
5. Round the edges
Sharp 90-degree corners burn. Always. The pit's airflow doesn't want to wrap around a square. Heat collects on hard angles, and the corner crisps to charcoal while the rest of the brisket is still rendering.
Take your knife and knock the four outside corners down. You're not carving a sculpture. A few diagonal strokes per corner, just enough to give the airflow something curved to flow over. The trim pile gets another ounce. The bark gets to develop evenly.
Curves cook better than corners. Round them.
6. Score the fat cap (optional, and the Major doesn't)
You'll see this on Instagram. A pretty crosshatch across the fat cap. Some pitmasters swear it lets the rub penetrate. Some swear it speeds the render.
The Major doesn't bother. A quarter-inch cap renders down through the cook on its own. Rub bonds to surface fat fine without scoring. The crosshatch looks photogenic and changes nothing about the eating.
Texas-style brisket trim is not arts and crafts. It's geometry with consequences. Don't score because you think it's the move. It isn't.
Mistakes That Cost You the Cook
Four trim mistakes that show up in the slicer 14 hours later.
Trimming warm brisket. Fat at room temperature smears. The knife slides into mush instead of slicing fat. Your cap thickness comes out uneven: half-inch in some spots, bare meat in others. Trim straight from the fridge, every time. If your packer's been on the counter while you read this, put it back. Forty-five minutes in the cold gets the cap firm again.
Dull knife. A sharp knife slices fat. A dull knife tears it. Tearing leaves ragged surfaces, ragged surfaces don't develop clean bark, and a 14-hour cook on a torn-up trim looks hacked up at the slicer. Sharpen before you start. Touch the edge to the honing rod halfway through. If you're sawing instead of slicing, stop and fix the edge.
Going below 1/8 inch on the cap. You can always take more off. You cannot put it back. Once the cap is gone, the flat cooks naked. There's no fix at hour six. Quarter inch is the target. Eighth inch is the floor. Below that, you're cooking a roast.
Leaving the thin lip on the flat. It hurts to cut off four ounces of brisket you paid for. The lip becomes leather anyway. Cutting it off in the trim pile is better than serving someone a piece of belt and watching them lie about how good it is.
The Deckle Debate (and the Major's Call)
The deckle is the fat seam between the point and the flat. Some pitmasters, usually competition guys, separate the two muscles before the cook so each gets its own bark and its own treatment. There's a case for it.
For Texas-style at home, leave them together.
That deckle is a fat reservoir. During the cook, it renders out and bastes both muscles from the inside. Separate them and you've cut your built-in baste in half. The point dries on the new exposed face. The flat loses its insulator.
Leave the deckle in for the cook. After the rest, and only after the rest, separate the point from the flat by following the seam with the slicer. Slice the flat against the grain, cube the point for burnt ends. This is Aaron Franklin's approach. It's the right answer for 95% of home cooks. The Major's call: leave it together.
The Major's Call
Cold brisket out of the fridge. Sharp knife on the board. Six cuts, in order, no improvising.
- Hard fat off the point.
- Thin lip squared off the flat.
- Fat cap to a quarter inch.
- Silver skin peeled.
- Edges rounded.
- Skip the scoring.
Deckle stays together until after the rest. Silver skin goes in the trim pile, not on the pit. Expect to lose 20% of the raw weight. Pay the entry fee.
Do it the same way twenty times before you start improvising. Twenty trims teaches you what a brisket looks like when the trim is right. After that, you can start having opinions. Not before.
Further Orders
- Pull temps matter as much as trim. Grab the Major's free meat temperature field guide for every cut, every doneness, on one page.
- Cooking for a crowd? The Pitmaster Calculator tells you how much packer to buy and when to start.
- Put the trim to work in the Major's full Texas brisket cookalong.
- The next two questions you're going to have are already answered: the Major's debriefs on post oak or hickory and the brisket stall.
- Deeper briefings, including the Major's full brisket cook playbook, live in the Officer's Club.
Sharp knife. Cold meat. Dismissed.